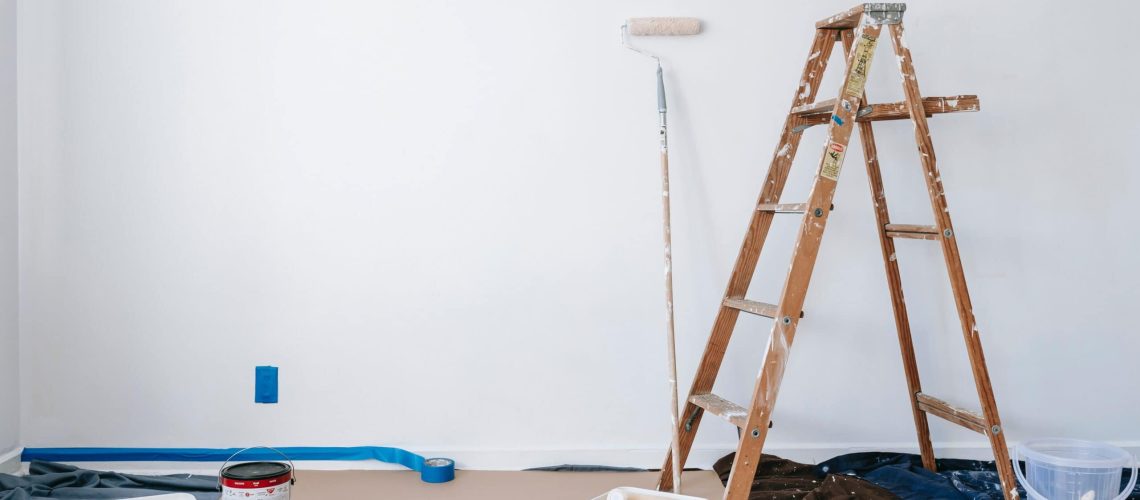
Painting a room can be a daunting task, but it doesn’t have to be. With the right preparation and approach, you’ll be able to paint your room quickly and efficiently.
Can I Paint a Room in a Day?
Yes, but only if you’re prepared. Preparing for a room painting project is not just about having the right tools, paint or equipment; it’s also about having the right space to work with.
If you plan on painting your entire room in one day, it’s important that you set aside enough time for prep work and cleanup. Preparing the room for painting is the part that consumes the most time in this task especially if you will be doing everything alone.
When Painting a Room Where Do I Start?
If the walls are unfinished, start by preparing them. This includes cleaning off any existing paint or wallpaper and then sanding down the surface to make sure it’s smooth. If they have been painted before, start with the final layer of paint so that you don’t have to deal with multiple coats.
After priming and sanding (if necessary), begin by working on one corner of your room at a time using an angle brush (a brush with bristles on only one side). You’ll want to lightly dust these first strokes away so that they don’t show after applying subsequent layers of color.
What’s the Most Efficient Way of Painting a Room?
- Remove all furniture from the room. You don’t want to paint around it and make a mess, so it needs to be out of the way. If you can’t move it, cover it with plastic sheets or drop cloths. It’s also a good idea to remove light fixtures, lamps and other electrical items that might get splattered with paint by cutting off their power strips or just unplugging them.
- Remove any trim molding that juts out too far into the room (e.g., crown molding). This step is optional but recommended since this will help ensure that your brushstrokes don’t go outside of their designated areas when painting inside corners and along baseboards.
- This means removing any stickers or decals from furniture or walls before you start painting them or they will not look nice once painted over.
- Clean the walls using an electric sander with fine grit sandpaper; then use another fine grit sandpaper on any remaining grime. Use an eraser if needed.
- Afterward, vacuum up all dust particles left behind after sanding down old layers of drywall mud — this will help prevent clumps in later coats as well as create a smooth surface for better adhesion from subsequent layers of latex coverings overtop!
- Prepare all your tools like the tray and the paintbrush, etc. and then you may proceed to painting the room.
The Key to Painting a Room Like a Pro Is Preparation
Remember, the key to painting a room like a pro is preparation. If you’re not prepared, the paint will simply not stick to the wall and you’ll be left with a giant mess on your hands. If you’re not prepared, you will end up repeating some steps in the process. The best way to prepare for painting is by making sure that everything in the room is ready and that you have everything you need.
If this is too much for you, the best option is still to hire professionals to do it for you. They are experts in the painting process and they are always prepared so they can finish the task in the most efficient manner while delivering top quality service.
Would you like to know more about having your room painted like a pro? Our team of experienced professionals are ready to answer your queries. Call us today at 086 608 1817 or click here to reach us.
Royalty free image supplied from Pexels as part of SEO service from 3R.
