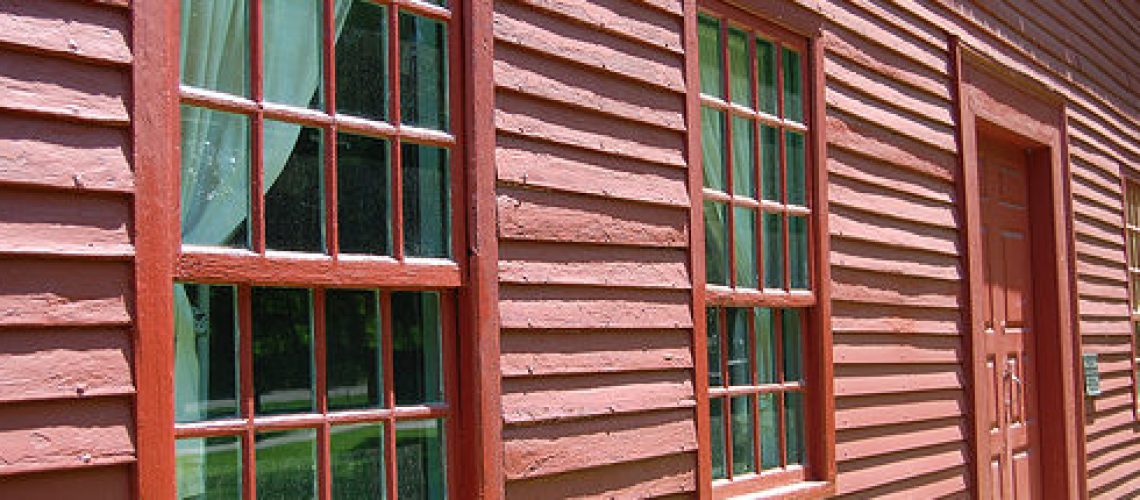
Regularly painting your home’s wood siding is an excellent way to preserve its beauty. Most importantly, it helps ensure that the clapboard, other term for wood siding, lasts long. By painting your wood siding on a regular basis, you prevent it from rotting and avoid having to spend on costly repairs.
If you have not painted your wood siding for quite a while, the best time to do it is now since spring is just around the corner. Keep in mind, spring is the ideal time for house exterior painting projects like wood siding repainting. But before you start, make sure you are equipped with the knowledge and tools necessary in painting house clapboards. On the other hand, if you have no time to DIY this project, ensure you get a professional exterior house painter to take care of your wood siding.
Steps in Painting Wood Siding
Assess Your Wood Siding
Before you can start the painting process, you need to evaluate the condition of your wood siding. Inspect every inch of it for mildew and moulds or open joints. Check if the existing paint is loose or flaking. Peeling paint and moulds are typically brought about by moisture that has accumulated or seeped through the wood. Oftentimes, the moisture is due to a leak in the eaves or gutters. Meanwhile, if the flaking is observed near the kitchen of bath area, the culprit may be leaky pipes.
While you are assessing the state of your wood siding, take the chance to check for the presence of wasp nests or bee hives. This way, you can make the necessary preparations before you start the actual work. You can also use this time to come up with a strategy on how to work on hard-to-reach areas and those located below electrical wires.
Prepare the Surface
If you have leaky pipes or gutters, you need to fix them. In addition, holes or gouges need to be filled and damaged sections must be replaced.
It is also important that you scrape loose paint from the clapboards. Use a power sander to remove large sections of paint. Paint scrapers or putty knives may be used for peeling paint in small areas. Make sure you sharpen your blade before starting the task. Apart from making it difficult to remove the paint, a dull scraper may gouge the wood. Scraping from every direction may loosen more paint. Use sandpaper to make rough edges levelled or less visible.
Once you are done removing loose paint and fixing other issues, wash the surface. You may use a power washer to thoroughly rid your home exterior of dirt and stains. Spray a solution of tri-sodium phosphate on the clapboards to remove mildew or mould stains. This solution also prevents the growth of moulds. To avoid staining, always wash the surface from bottom to top. Let the wood dry before priming it.
See to it that you wear the appropriate gear when prepping the wood siding. Wear a dust mask so that you would not inhale paint dust. Also put on safety glasses to prevent dust and other minute particles from getting into your eyes. Using gloves is highly recommended when dealing with TSP solution.
Apply Primer
Put wood primer on your clapboards. Using primer on exterior wood is a good way of ensuring the longevity of the paint work. This is because the primer makes your topcoat more resistant to moisture. Additionally, the primer also lets your paint adhere well to the surface.
Paint the Wood Siding
Once the primer is dry, you may proceed to applying your desired paint colour. Always work from top to bottom. Follow the direction of the wood grain when painting – usually from side to side. Keep in mind, rough surfaces tend to absorb more paint than smooth areas. So, be sure that you apply the paint evenly. If you want a more solid finish, you may apply two coats of paint.
For more tips on how to paint your house exterior wood siding, call us at 086 608 1817 / 085 139 0233 today!
—
